Decorating workwear and PPE is harder than flat promo: fabric, decoration method, placement, durability, and safety certification all constrain the artwork. This playbook covers the main methods, where automation removes the manual work, and how to keep every logo production-ready without risking a garment's certification or a costly reprint.
The short version: workwear is not flat promo. The fabric, the decoration method, the placement, the wash durability, and, for certified PPE, the safety standard all decide what a print-ready file has to look like. Get the artwork engine to respect those rules and you can decorate workwear at scale. Ignore them and you get reprints, unhappy customers, and, on PPE, real liability.
On this page
A workwear reseller lands a contract to kit out a facilities company: 300 staff, softshell jackets and hi-vis vests, the company logo on the left chest and a larger version on the back. The logo arrives as a low-resolution PNG lifted from a website. Now multiply that by every new client, every fabric, and every decoration method, and you have the real job. Decorating workwear is one of the most demanding corners of promotional products, and it is exactly where good artwork automation earns its keep. FastEditor exists to turn that messy input into correct, method-aware, production-ready output, so a workwear business can grow on volume rather than on how many hours its studio can work. This is the playbook.
A printed tote or a pen is forgiving. Workwear is not. Three things make garments harder. First, the substrate varies wildly: cotton, polyester, softshell, fleece, high-visibility polyester, flame-resistant fabrics, and coated waterproofs all behave differently under a needle or a heat press. Second, the decoration has to survive industrial washing, sometimes at high temperatures, for the life of the garment. Third, garments have real, curved decoration zones with seams, pockets, and zips, so a logo cannot simply be dropped in the middle. On top of all that, the customer logos flowing in are rarely usable as supplied. The artwork has to be repaired, converted, and adapted to the chosen method before anything touches a garment.
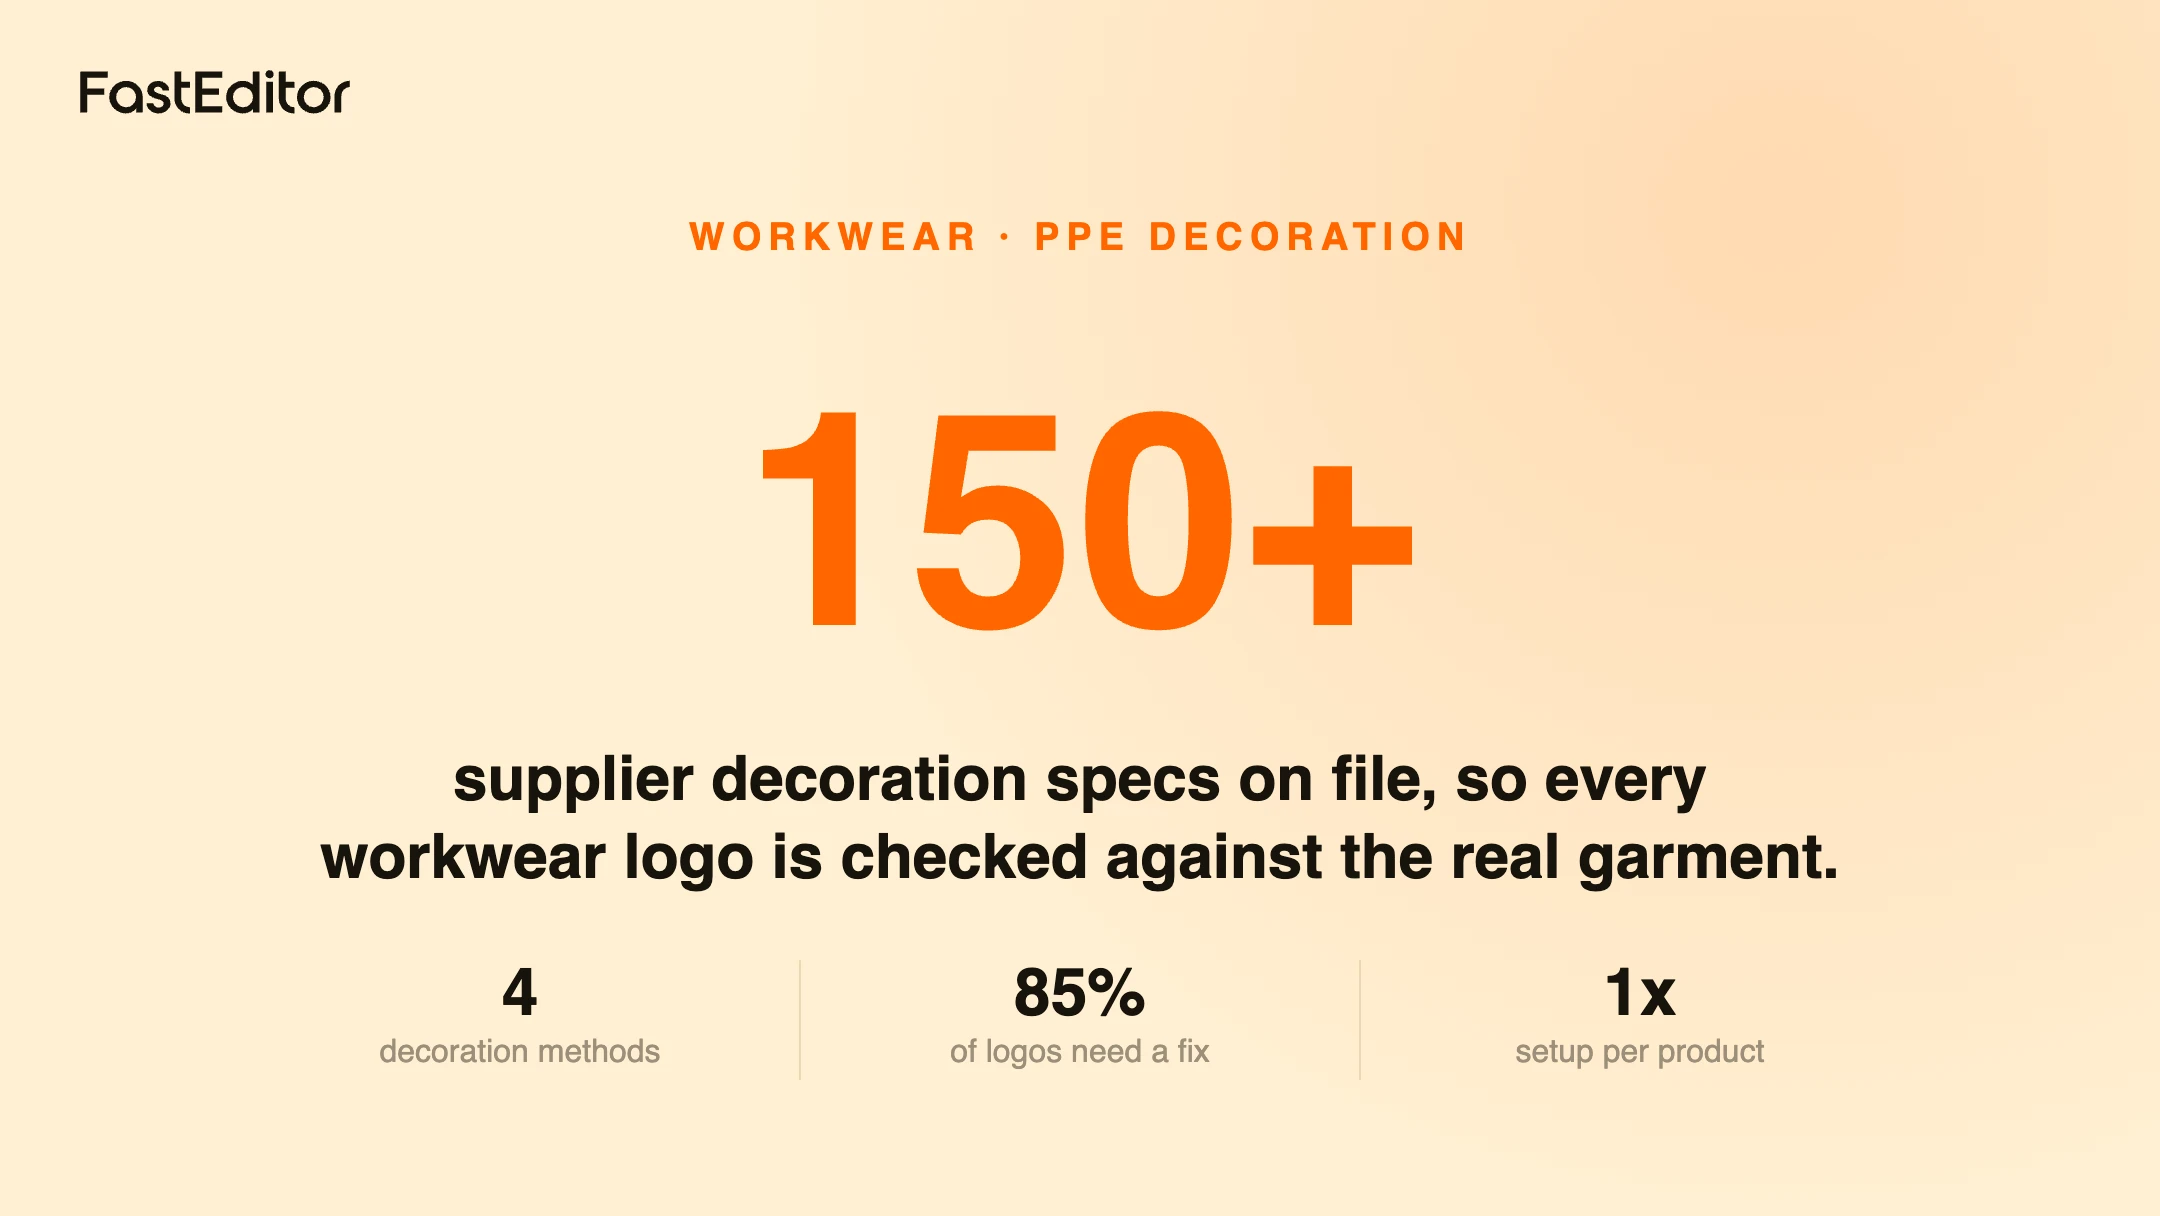
Most workwear is decorated with one of four methods, and each makes different demands on the artwork. Choosing the right one per garment and logo is half the battle. Our guide to decoration techniques goes deeper on each; here is the workwear-specific view.
| Method | Best for | What the artwork needs | Watch out for |
|---|---|---|---|
| Embroidery | Chest logos, caps, premium and durable branding | Vector artwork, digitised stitch file, minimum size respected | Fine detail and small text can be lost in stitches |
| Screen print | Large runs, backs, bold logos | Vector, colours separated and locked, spot colours | Setup cost per colour makes small runs uneconomic |
| Heat transfer and DTF | Small runs, multicolour logos, mixed garments | High-resolution or vector, correct colour profile | Wash durability and hand feel vary by film and fabric |
| DTG | Detailed, full-colour prints on cotton-rich garments | High-resolution RGB with a colour-managed workflow | Less suited to polyester and technical workwear fabrics |
The point is not that one method is best. It is that the artwork requirement changes with the method, so the file that is correct for screen print is not the file that is correct for embroidery. A pipeline that cannot produce the right output per method forces a person to redo the work every time the method changes.
This is the part that separates workwear from ordinary apparel, and it deserves care. Certified personal protective equipment, such as high-visibility clothing to standards like EN ISO 20471, or flame-resistant garments, is tested and certified as a complete product. Adding decoration can affect that certification. The amount of background fabric a logo covers on a hi-vis garment can matter, some methods and positions are restricted, and the wrong heat-press settings can damage a technical fabric. None of this means you cannot brand PPE. It means the garment manufacturer's decoration guidance is not optional, and it should be part of the product data your team works from, not something remembered case by case. When decoration rules live in the product configuration, the platform can stop a non-compliant placement before it becomes an order. This is general guidance, not legal or compliance advice: always follow the specific garment maker's instructions and the relevant standard.
Before a single stitch or print, the file has to be fixed, and this is where most manual hours disappear. In the FastEditor Artwork Automation Benchmark, across 13,773 real logo uploads, about 85 percent needed at least one automated fix. Roughly 61 percent needed vectorising, and around 79 percent needed upscaling. Workwear amplifies two problems in particular.
Embroidery cannot render fine lines and tiny text the way print can, because each element has to become stitches. A logo that looks fine on screen can turn into an illegible blob on a chest. That is why minimum line thickness and font size rules matter so much, and why the file needs to be checked against them before it is digitised. Automated embroidery digitizing turns clean vector artwork into a stitch file, but it can only work well if the input has already been repaired and simplified for the method.
A brand colour has to look right on a navy jacket, a yellow hi-vis vest, and a grey fleece. That means working in the right colour system and locking values per method, not eyeballing it. Our guide to RGB, CMYK, and Pantone explains why a managed colour workflow, with PMS matching where it counts, is what keeps a logo consistent across a mixed garment order.
The way to scale a workwear business is to move the repetitive artwork work off people and into the pipeline. In practice that means five things happen automatically for every incoming logo.
Clean up the uploaded file and convert it to vector so it is ready for any method. This alone removes the most common manual step.
Run a preflight check for the specific decoration method: line thickness and minimum size for embroidery, colour separation for screen print, resolution and profile for transfer and DTG.
Position the logo inside the garment's actual print or stitch area, at the right size for chest, back, or sleeve, rather than a generic rectangle.
Fix the colours per method so what is approved is what is produced, across every fabric in the order.
Generate a clear proof for the customer and a production-ready file, including a digitised stitch file where the method is embroidery. Because the rules were set once per product, this repeats for every order without a designer in the loop.
Even with perfect files, placement is where workwear orders go wrong at the last step. A few rules travel well across most garments. Left-chest logos are usually modest in size and sit a consistent distance from the placket and shoulder seam, so a range looks uniform across staff. Back logos can be much larger but must clear seams and any reflective banding on hi-vis garments. Sleeve and collar branding is small, so it is the most sensitive to line thickness. Caps have a tight, curved embroidery field that punishes fine detail. The reliable way to enforce all of this is not a style guide that people try to remember, it is decoration zones and sizing rules configured per product, so every order is placed correctly by default. A quick look at the difference between a soft proof and the final result is worth building into the process so customers approve something honest.
There is no single best method. Embroidery suits durable chest logos and caps, screen print suits large runs and backs, heat transfer and DTF suit small or multicolour runs across mixed garments, and DTG suits detailed prints on cotton-rich fabrics. The right choice depends on the garment, the logo, and the run size, and the artwork requirement changes with it.
Not as supplied. A logo has to be clean vector artwork, then digitised into a stitch file, and fine lines or small text often have to be simplified because embroidery cannot render detail below a minimum size. Checking the logo against line-thickness and size rules before digitising is what prevents an illegible result.
It can. Certified PPE such as high-visibility or flame-resistant clothing is certified as a complete product, so decoration method, position, and the area of background fabric covered can all matter. Follow the garment manufacturer's decoration guidance and the relevant standard, and keep those rules in your product data so non-compliant placements are caught before production. This is general guidance, not compliance advice.
Because customers send whatever they have, usually a low-resolution image from a website or an old document. Across 13,773 real uploads, about 85 percent needed at least one fix, most often vectorising or upscaling. For workwear that has to be repaired and then adapted to the specific decoration method.
Work in a managed colour system and lock the values per decoration method, using PMS matching where accuracy matters, rather than judging colour by eye. That keeps a logo looking right on hi-vis yellow, navy, and grey within the same order.
The artwork side can. Repair, vectorisation, method-specific preflight, placement, colour locking, and proof and file generation can all run automatically once the rules are configured per product, including embroidery digitizing. The physical decoration still happens in production, but the file preparation that used to cap capacity no longer has to.
More articles in Artwork Automation.
