Automatic background removal detects the ground behind a customer logo, whether a solid fill, a near-white region or a busy photo, and writes true transparency around the mark without changing its colors. It is an early, method-aware step that gives vectorization, upscaling and preflight a clean logo to work on.
A customer uploads their logo and it looks fine in the preview. Then you open the file and the mark is sitting on a white box, or a faint grey checkerboard, or a photo of the office wall it was screenshotted from. On a white tote that white box is invisible. On a navy polo it prints as an ugly rectangle around the logo. The background was never part of the brand, but unless something removes it, it ends up in production.
Background removal is one of the quiet steps that decides whether an upload becomes a clean print or a reprint. This guide explains why almost every customer logo arrives with a background, how automatic background removal actually works, and when you should remove it versus keep it. It is written for promo and print businesses that take logo uploads at scale. For the wider picture of how this fits together, see how artwork handling works end to end at FastEditor.
On this page
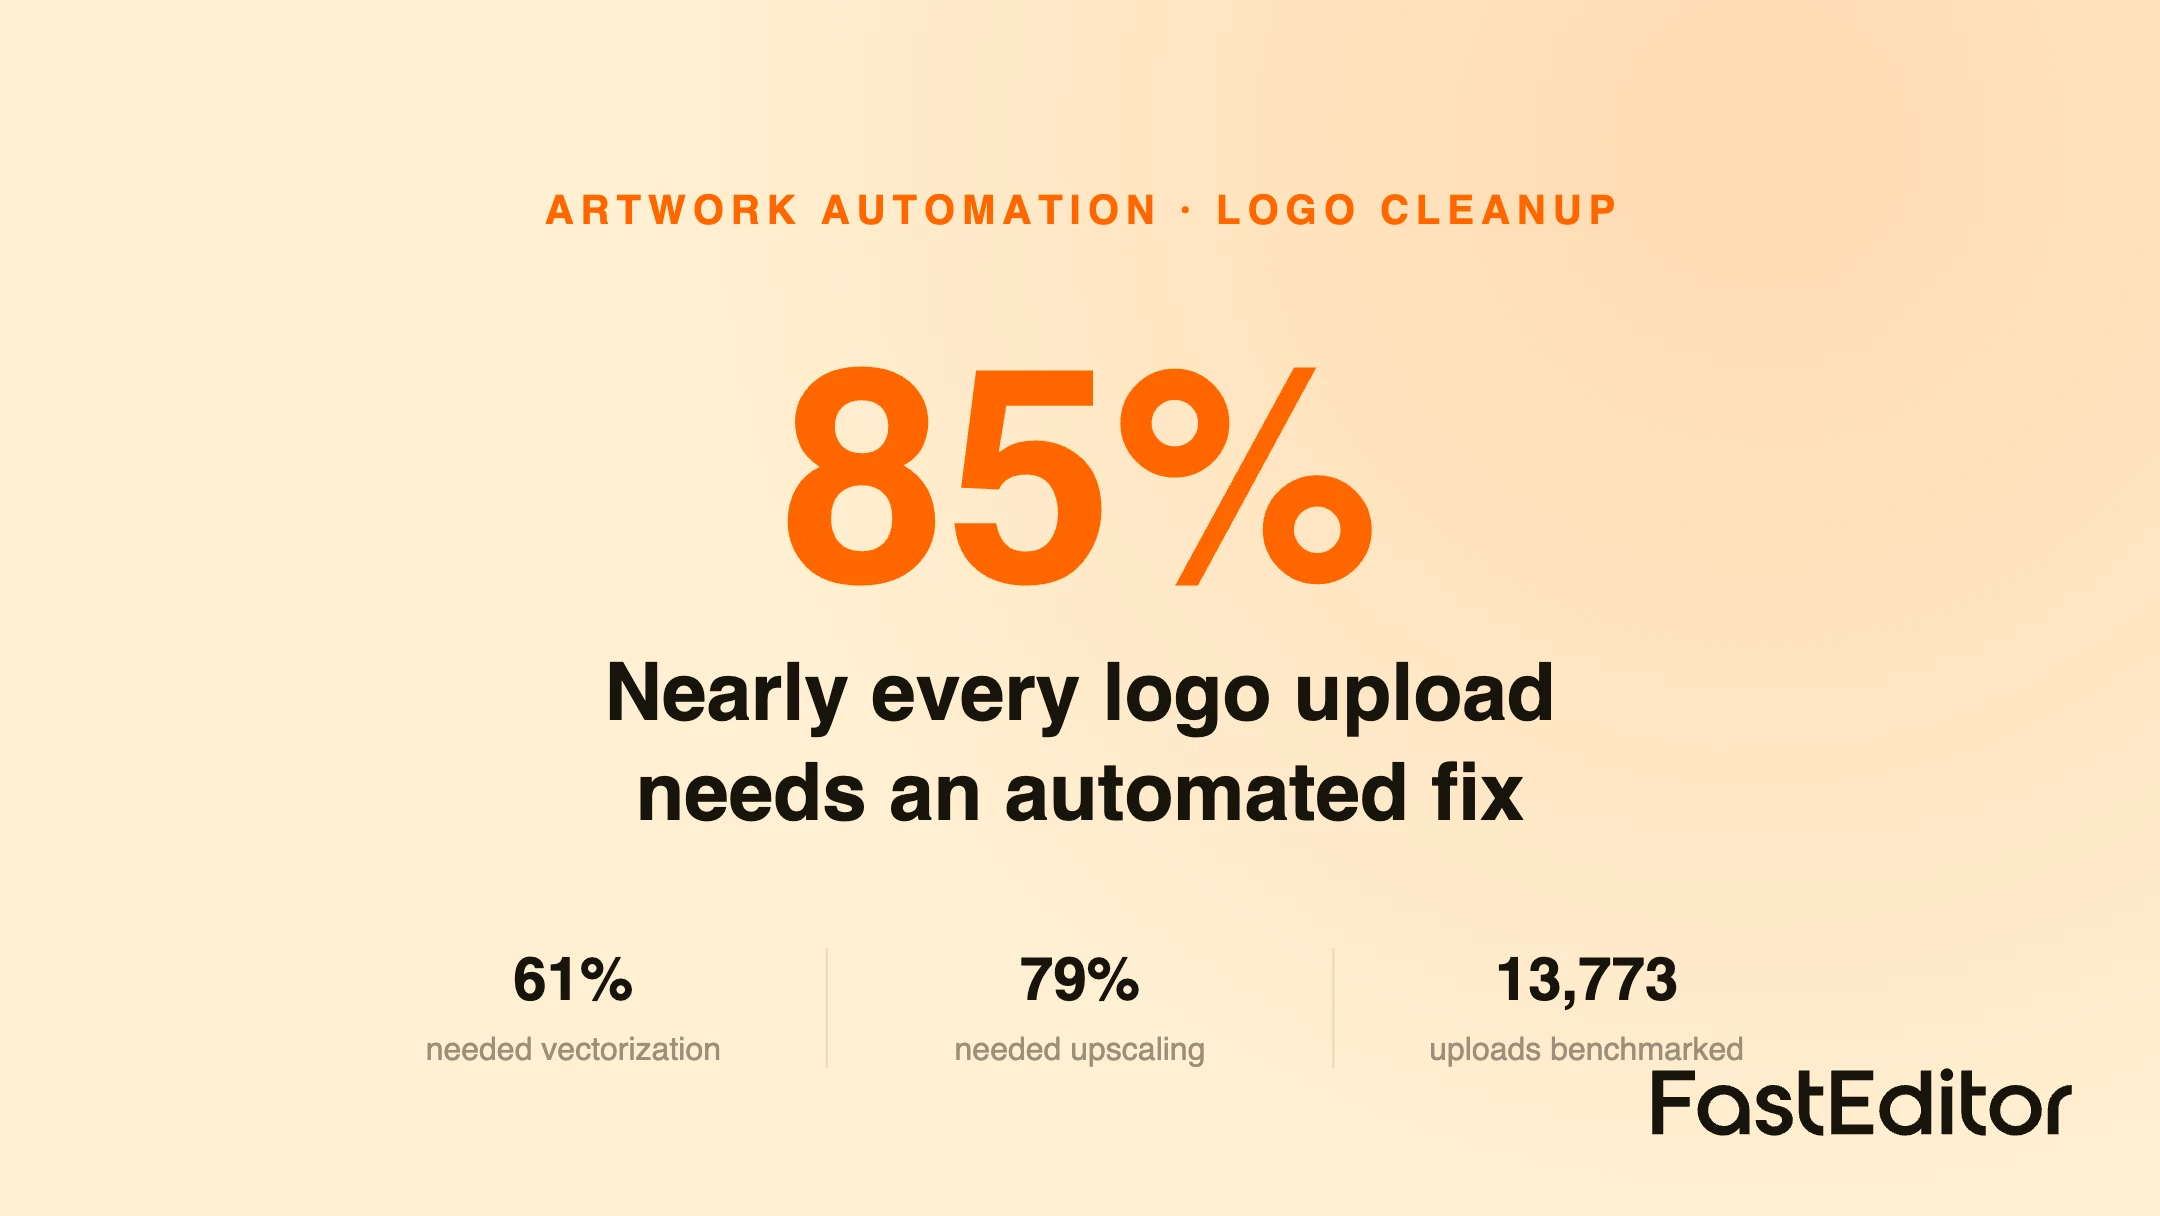
Most people do not have their logo as a clean file with a transparent background. They have whatever was to hand: a PNG exported with a white fill, a JPG that can only store a solid background, a logo lifted from a slide, or a screenshot from a website. In the FastEditor Artwork Automation Benchmark of 13,773 logo uploads, about 85 percent needed at least one automated fix before they were ready to print, and about 40 percent needed the background removed. That makes it one of the most common corrections of all, and one of the easiest to miss, because on a white screen a white background is invisible until the product is not white.
In the FastEditor Artwork Automation Benchmark
40%
of logo uploads needed the background removed before they were production ready, measured across 13,773 uploads.
The cost shows up later. A spot color screen print separates every distinct color into its own screen, so a stray white or off-white ground can become an extra separation, a visible knockout, or a halo at the edge of the mark. Embroidery and engraving need a clean silhouette to follow. A background that survives to production is not a cosmetic problem, it is a file that prints wrong.
Not every background is the same, and the right handling depends on which kind arrived. Three cases cover almost everything.
| Background type | What it looks like | How automation handles it |
|---|---|---|
| Solid fill | A single flat color, usually white, behind the mark | The cleanest case. The flat region is detected and made transparent with a crisp edge. |
| Near-solid or off-white | An almost-white or lightly textured ground, often from compression | A tolerance range groups the near-matching pixels so the whole ground is removed, not just the exact white. |
| Photographic or busy | The logo sits on a photo, a gradient or a scene | The hard case. The subject has to be separated from a varied ground, and low-confidence results are flagged for review rather than guessed. |
The first two are the bulk of real uploads and convert cleanly. The third is where naive tools fail, because they either leave a fringe of the old background or cut into the logo itself.
Under the hood, automatic background removal is a sequence of decisions, not a single filter. First the system classifies the upload, because a logo and a full-color photo should not be treated the same way. Then it identifies which pixels are background: flat-fill detection for solid grounds, a tolerance range for near-solid grounds, and subject separation for busy ones. It writes the result into an alpha channel so the background becomes genuine transparency rather than a painted-over white.
The quality lives at the edges. A good result keeps anti-aliased edges smooth without leaving a halo of leftover background color, and it preserves holes that should stay open, such as the gap inside an O or a ring. A white mark on a dark ground is handled by detecting the mark against its surroundings and keeping it as a knockout with transparency around it, so it is ready to print in white ink or to sit on any product color. Where confidence is low, the right behavior is to flag the file rather than ship a damaged cutout, the same principle that governs good automated vectorization.
Background removal is also not the same step as color handling. Removing a ground changes transparency, it does not change the ink values of the logo, so a clean pipeline keeps your original print colors intact and only touches the alpha channel. Color questions, such as reducing a mark to a set number of print colors or matching to Pantone, are handled separately further down the line.
Removing the background is usually right, but not always. The decoration method decides. A single-color screen print, embroidery or laser engraving needs the ground gone and a clean silhouette to work from. A full-color transfer such as DTF or sublimation can sometimes keep a deliberate background if the customer actually wants a printed panel, though most of the time they do not. The safe default is to remove non-brand backgrounds automatically and keep the decision reversible, so a customer who genuinely wants a colored panel can add one on purpose rather than by accident.
| Decoration method | Background | Why |
|---|---|---|
| Screen print and pad print | Remove | Each spot colour needs a clean silhouette; a stray ground adds a screen or a halo |
| Embroidery | Remove | Stitches follow the mark, not a panel behind it |
| Laser engraving | Remove | The mark is the material itself, so there is no background to carry |
| DTF, DTG and sublimation | Usually remove; keep only for a wanted panel | Full colour can print a background, but customers rarely intend one |
This is also why background removal belongs inside the same system that knows the product and its decoration method. A standalone cutout tool does not know that the file is going to a one-color pad print with a tight print area, so it cannot make the right call. A method-aware pipeline can, and it can pair the cutout with the preflight checks that catch thin lines and small text before they reach the press.
Background removal is early, but it is not the whole job. In a production artwork automation pipeline the upload is classified, the background is removed, low-resolution marks are upscaled, raster logos are vectorized where the method needs vectors, colors are mapped and limited, and the file runs through preflight before a proof is generated. In the benchmark, 61 percent of uploads needed vectorization and 79 percent needed upscaling, and the platform reached 99.95 percent file accuracy across the set while maintaining production specs for more than 150 suppliers. Background removal is the step that makes all of those downstream steps work on the logo and nothing but the logo.
Done well, the customer never sees any of it. They upload the file they have, the ground disappears, and what moves forward is a clean mark ready for a production-ready file and a print proof they can approve. Done badly, or not at all, the background is the first thing the printer has to fix by hand.
The system first classifies the upload. A logo on a solid or near-solid ground is the clean case and is cut out automatically. A genuine full-color photo is treated differently, because a photo usually is the artwork rather than a mark on a background, so it is not blindly stripped.
No. Background removal only writes transparency into the alpha channel. It does not alter the ink values of the mark. Color steps such as Pantone matching or reducing the number of print colors happen separately, and a well-built pipeline preserves your original print colors throughout.
That case is handled by detecting the mark against its surroundings and keeping it as a white knockout with transparency around it. The result is ready to print in white ink or to sit cleanly on any product color.
Not always. Single-color methods such as screen print, embroidery and engraving need the ground gone. A full-color transfer can keep a deliberate background when the customer actually wants a printed panel. The safe default is to remove non-brand backgrounds and let a colored panel be added on purpose.
No, they are complementary. Background removal isolates the mark; vectorization converts a raster mark into print-ready vector paths. In a production pipeline the background is removed first so that vectorization and the later steps work on the logo alone.
PNG, SVG and vector formats such as AI, EPS and PDF can store transparency. JPG cannot, so a logo saved as a JPG always carries a solid background. If a customer only has a JPG, automatic background removal recreates the transparency the format threw away.
More articles in Artwork Automation.
