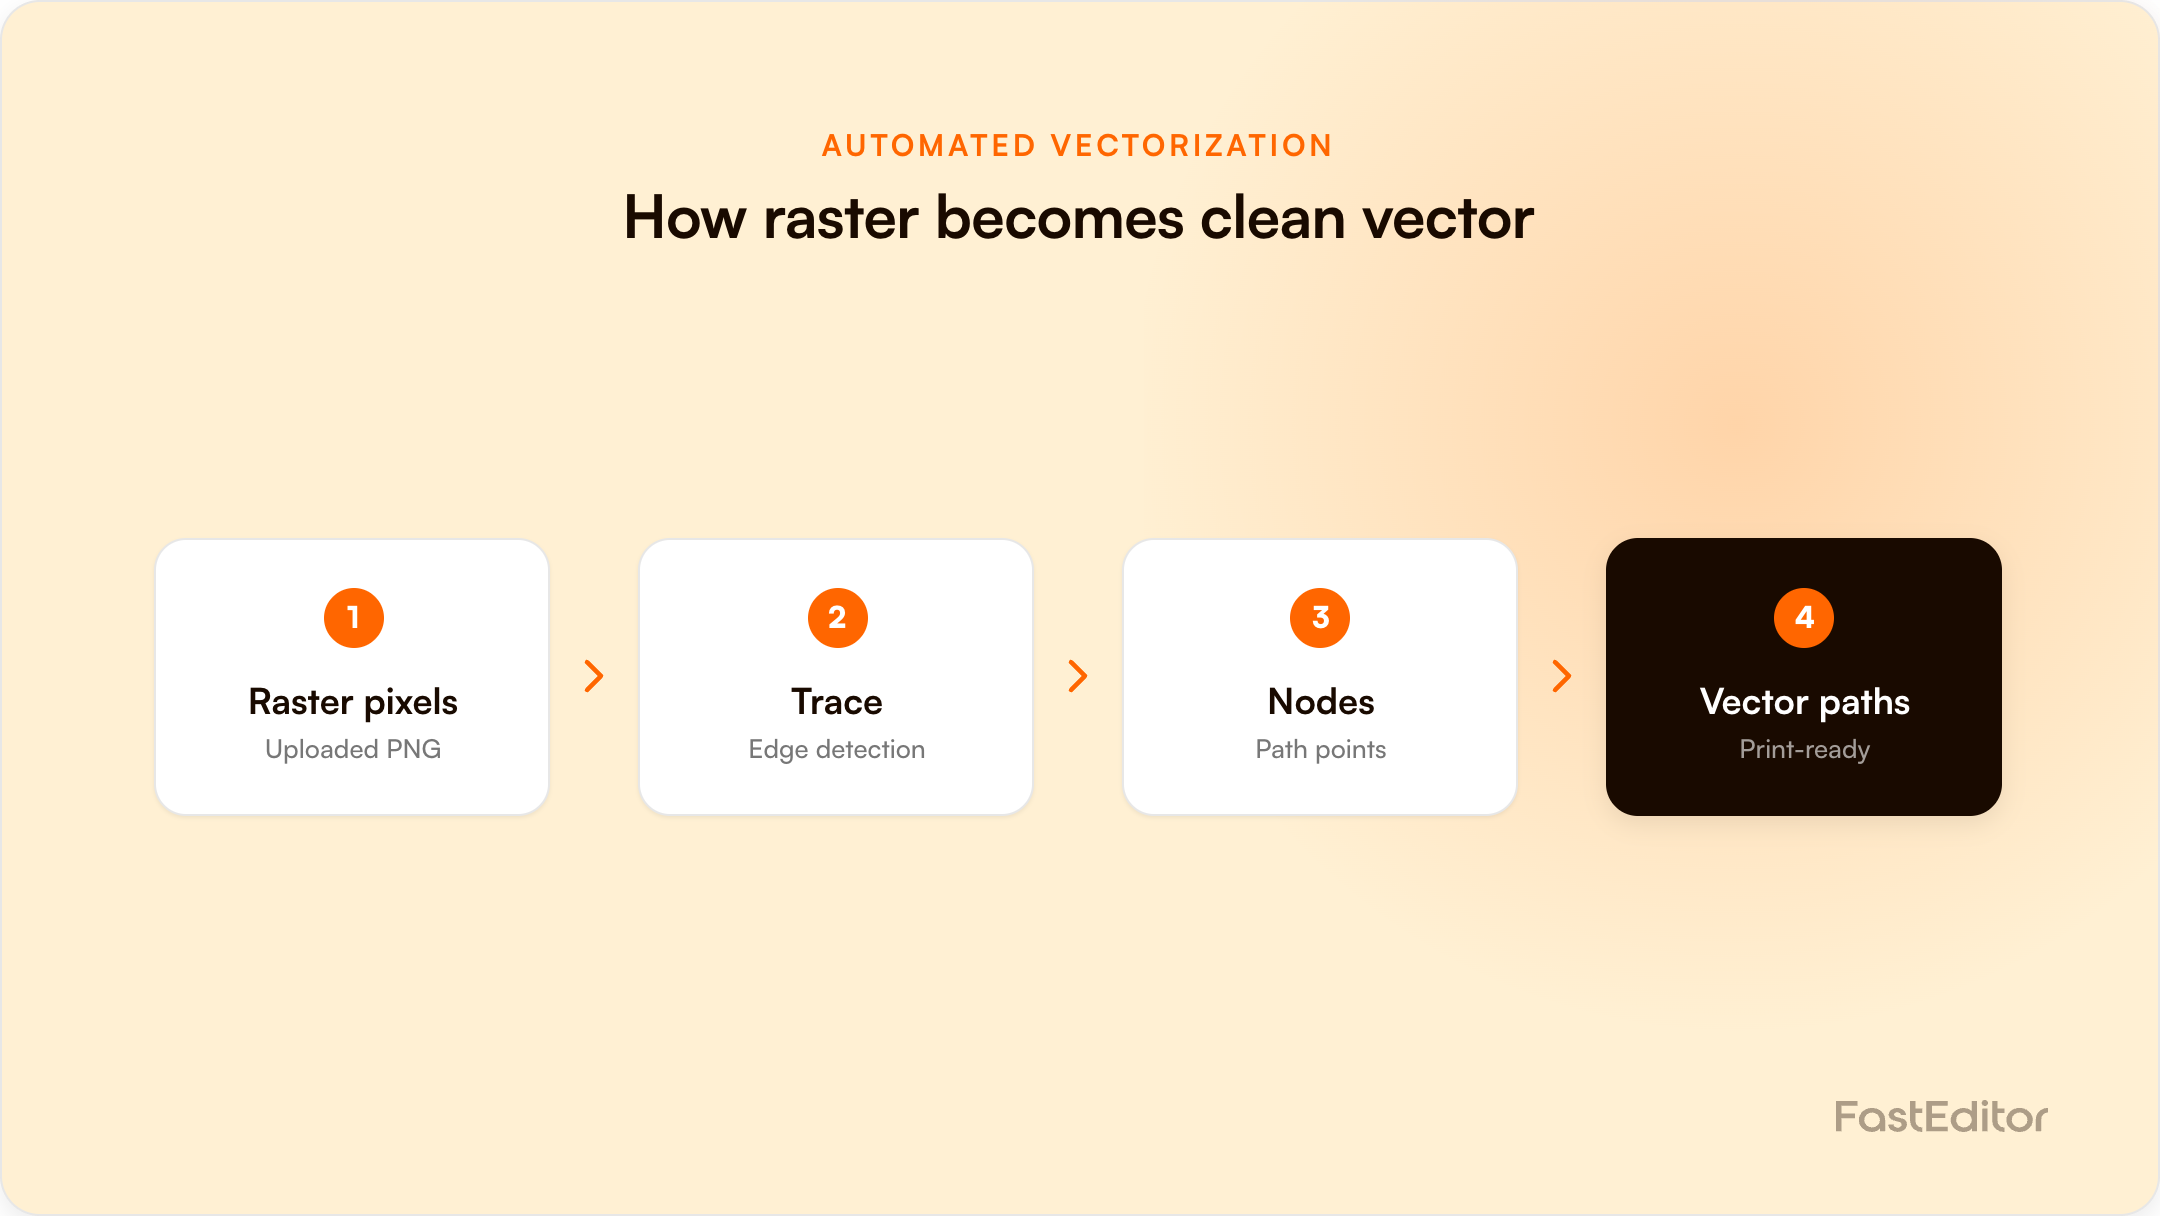
Automated vectorization converts a customer's raster logo into clean, print-ready vector paths in under 20 seconds, using preprocessing, edge detection, Bezier path fitting, node reduction and colour separation. In a 13,773-upload benchmark, 61 percent of logos needed it, and the median upload-to-production-file time was 53 seconds.
Your customer just uploaded a 200 by 200 pixel JPEG of their logo. Your screen printer needs an EPS with clean paths and separated spot colours. In most promo businesses, that gap is closed by a designer redrawing the logo by hand, ten to fifteen minutes per file, dozens of times a day. Automated vectorization closes it in seconds. This article explains exactly how the technology works, where it fails, and how to evaluate an engine before you trust it with production files.
On this page
The scale of the problem is well documented. Across 13,773 logo uploads analysed in the FastEditor 2026 benchmark, 61 percent needed vectorization before they could be produced, and the median time from upload to a production-ready file, vectorization included, was 53 seconds.
Raster and vector are fundamentally different ways of describing an image, and decoration equipment is opinionated about which one it accepts.
| Property | Raster (JPEG, PNG, GIF) | Vector (SVG, EPS, AI, PDF) |
|---|---|---|
| Built from | A fixed grid of coloured pixels | Mathematical paths: lines and curves |
| Scaling behaviour | Blurs and pixelates when enlarged | Sharp at any size, from pin badge to billboard |
| Colour handling | Millions of blended colours | Discrete fills, easily mapped to spot colours |
| Editability | Pixel by pixel | Per shape: move, recolour, rescale paths |
| Decoration methods served | DTG, DTF, sublimation | Screen print, pad print, engraving, embroidery digitising |
| Typical source | Website logo, email signature | Designer's master artwork file |
Customers almost never have the vector. They have the website PNG, because that is the file they could find. That mismatch is structural, not user error, which is why asking customers for better files never works at scale. The wider context sits in what is artwork automation.
What actually arrives in the upload queue
Share of customer logo uploads that needed each automated correction.
FastEditor Artwork Automation Benchmark 2026. Rates measured on 8,664 uploads, March to May 2026; 13,773 uploads analysed in total. Roughly 85% needed at least one of these fixes.
Vectorization, also called raster-to-vector tracing, converts a grid of pixels into editable paths. A production-grade engine runs five stages in sequence, in well under 20 seconds for a typical logo.
The engine first repairs the input: it removes JPEG compression noise, lifts the logo off its background, and upscales small files so edges become detectable. Quality in determines quality out; Adobe makes the same point in its Image Trace documentation, which advises optimising the source image before tracing because results depend directly on its nature, quality and size. Automated pipelines do that optimisation themselves rather than asking a human to.
Next, the engine reduces the image to a small set of dominant colours, collapsing the anti-aliased halo pixels around every edge into their parent shapes. It then detects the boundaries between those colour regions: the raw outlines that will become paths.
Each detected boundary is first approximated as a polygon of straight segments, then refined into smooth Bezier curves. This polygon-then-curves approach is the foundation of classic tracing algorithms such as Potrace, whose published algorithm describes decomposing a bitmap into an optimal polygon, adjusting vertices, analysing corners and fitting curve segments. The hard part is deciding what is a deliberate corner and what is a curve: get it wrong and a rounded logo grows spikes, or sharp typography turns to mush.
A naive trace produces thousands of anchor points, which makes files heavy and editing impossible. The engine merges collinear and near-redundant nodes until each shape is described by the minimum set of points that still preserves its geometry. Fewer, better-placed nodes are the clearest visible difference between a clean trace and a cheap one.
Finally, each shape is assigned a flat fill, brand colours are matched to their nearest spot colour equivalents, and the result is checked: stroke widths against the decoration method's minimums, gap sizes, overall fidelity to the source. The output then flows into proofing and production-ready file generation without a human handoff. FastEditor's automated vectorization runs this whole pipeline in under 20 seconds per logo.
No tracing engine converts everything. Three input types cause most failures.
The difference between a toy and a production tool is what happens at these edges. A production system scores its own confidence on every conversion, shows the customer a faithful preview rather than a flattering one, and routes low-confidence results to human review with diagnostics attached. For a closer look at the inputs no engine can rescue, see why some logos can't be auto-vectorized. Practical repair strategies for the worst inputs are covered in fixing low quality customer logos.
If you are assessing tools, test with your own ugliest real files, not the vendor's demo logos, and check the following.
The fastest way to judge an engine is to watch it handle your own order flow. You can test FastEditor's pipeline against your real customer files in a Studio demo and see the traced result, the proof and the production file side by side.
Manual vectorization is typically the largest single slice of per-order artwork time: ten to fifteen minutes of redrawing, plus the email round trips it triggers. Removing it changes the economics of every order, which is why 61 percent of uploads needing vectorization matters so much; the full cost model is in our artwork automation ROI analysis. Automated conversion is repeatable, near-zero marginal cost, and fast enough to run inside the checkout itself, while the customer watches.
Most everyday promo logos convert cleanly. Gradients and full-color marks, photographic images, and very small text are the hard cases; production-grade systems detect them, score their own confidence and route genuine failures to human review rather than printing a bad result.
Under 20 seconds per file with a production-grade engine. In the FastEditor benchmark of 13,773 uploads, the median time from upload to a complete production-ready file, vectorization included, was 53 seconds.
Yes. The engine separates the image into discrete colour regions and matches each one to its nearest spot colour equivalent, so the printed output stays faithful to the brand palette.
For the majority of logos, the output is production-equivalent and dramatically faster. For genuinely ambiguous artwork a skilled designer still wins, which is why good systems combine automation for the 90 percent with a review path for the rest.
If you are actively comparing vendors, we keep honest side-by-side write-ups of the main alternatives: TronDesigner, Zakeke, Customily, Printess, Kickflip, ImprintNext and Design'N'Buy / PrintXpand, or browse them all in Comparisons.
More articles in Artwork Automation.
