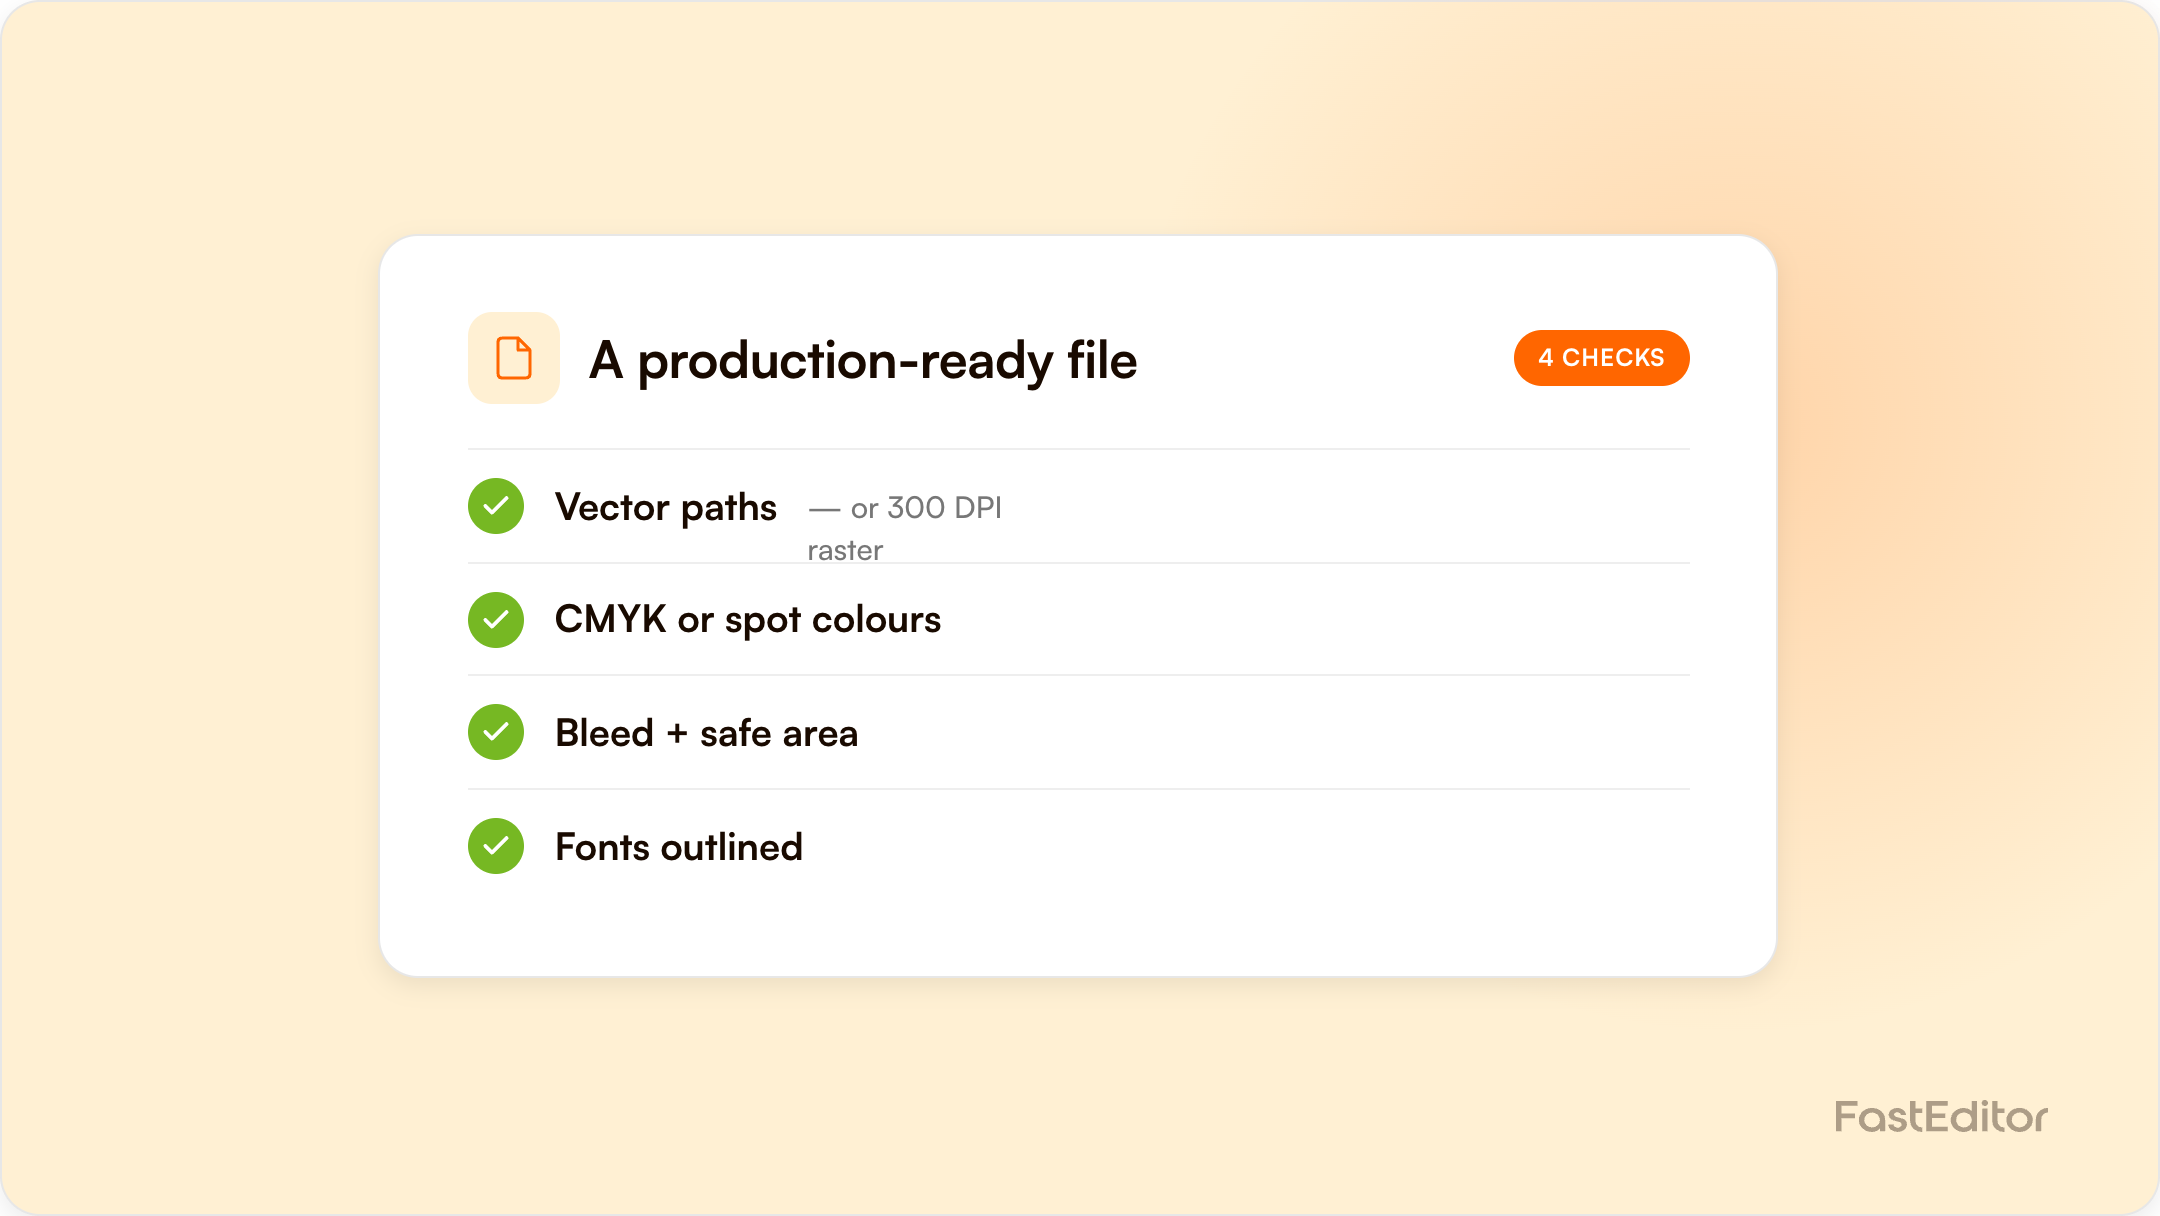
A production-ready file runs on press, engraver or embroidery machine with zero manual intervention: correct format, colour space, resolution, dimensions, fonts and minimum detail for the specific decoration method. Roughly 85 percent of 13,773 benchmarked customer uploads failed at least one of those checks, which is why automation generates compliant files instead of requesting them.
An order lands in your queue. The product is a stainless steel bottle, laser engraved. The artwork attached is logo_final_v2.jpg: 600 pixels wide, RGB, white background baked in, saved from an email signature. Your engraver needs a single-colour vector. Someone on your team now has to email the customer, explain what a vector is, wait, give up, and redraw the logo by hand. The order ships two days later than promised.
On this page
That gap between what customers send and what machines need is the entire reason the term "production-ready" exists. This article defines it precisely, breaks down what it means per decoration method, and shows how automation closes the gap. It is also why a configurator's on-screen preview is not the same as a production file.
A production-ready file is an artwork file that can be sent to a press, engraver, embroidery machine or printer and produce the intended result with zero manual intervention. No colour correction, no redrawing, no resizing, no format conversion, no clarifying email. Concretely, it satisfies every one of these conditions at once:
This is the same discipline the commercial print world formalised years ago. The Ghent Workgroup's PDF/X specifications exist precisely so that a PDF handed from one party to another behaves predictably on press, and the ISO 12647 series standardises the process parameters for colour separations, proofs and production prints. Promotional product decoration adds a twist those standards never had to deal with: six or more decoration methods, each with its own physics, and artwork supplied by customers who have never heard of any of this.
"Production-ready" is not one specification. A file that is perfect for direct-to-garment printing is useless for embroidery. The table below summarises typical requirements per method; exact values vary by supplier and machine, which is why spec enforcement matters so much.
| Decoration method | Vector or raster | Colour space | Resolution / minimum detail | Typical formats |
|---|---|---|---|---|
| Screen printing | Vector | Spot colours, separated | Lines from roughly 0.3 mm | AI, PDF, EPS |
| Pad printing | Vector | Spot colours | Fine detail from roughly 0.2 mm | AI, PDF, EPS |
| Laser engraving | Vector, single colour | Black only | Lines from roughly 0.2 mm | AI, PDF, EPS |
| DTG / DTF digital print | Raster accepted | CMYK | 300 DPI at print size, transparent background | PNG, TIFF, PDF |
| Sublimation | Raster accepted | CMYK, full bleed | 300 DPI, template aligned | PDF, PNG, TIFF |
| Embroidery | Digitised stitch file | Thread colours, no gradients | Letter height from roughly 4 mm | DST, PES |
Four of the six methods above demand vector paths. Vector graphics describe shapes mathematically, so they scale to any size without degrading, while raster images are fixed grids of pixels that blur and pixelate when enlarged. A 600 pixel JPEG simply does not contain the information an engraver needs. The mechanics of converting one into the other are covered in how automated vectorization works.
Screens work in RGB; presses work in CMYK or spot inks; embroidery machines work in physical thread colours. An RGB file sent straight to production prints duller and shifted, which is why prepress standards require declared output intents and consistent colour handling. The differences between the methods themselves, and what each one can physically reproduce, are explained in our guide to decoration techniques.
How often do customer files actually meet the bar? Almost never. Across 13,773 logo uploads analysed in the FastEditor 2026 benchmark, roughly 85 percent needed at least one automated fix before they were production-ready. The breakdown:
None of this is the customer's fault. They own a web-optimised PNG because that is what their website needed, and the range of file types customers can upload rarely matches what production equipment expects. Increasingly the same non-compliant files arrive straight from AI image generators, which produce artwork that looks print-ready but usually isn't. Education does not fix this at scale; the practical fixes are documented in fixing low quality customer logos, and the cost of handling each failure manually is quantified in our artwork automation ROI analysis.
Before any file goes to production, it should pass this sequence. Automated systems run the same checks in seconds; manual prepress teams run them by eye.
The manual version of that checklist takes a trained operator 15 to 45 minutes per problem file. The automated version inverts the model: instead of inspecting what the customer sent and asking for corrections, the system generates a compliant file from whatever arrived. The upload is vectorized, cleaned and colour-matched, then rendered against the exact specification of the receiving supplier through production-ready file generation, with automated line thickness checks guarding the minimum detail thresholds. FastEditor maintains these specifications for more than 150 suppliers, and the generated output runs at 99.95 percent file accuracy.
The customer experiences none of it. They see a live print proof, approve, and pay; the supplier receives a file that runs first time. The full end-to-end flow, step by step, is described in what is artwork automation. Connecting that flow to your order management system removes the last manual handoff between order intake and production, exactly what the Order Desk integration automates. If non-compliant files are a daily tax on your team, it is worth seeing what enforcing specs automatically would cost compared to handling exceptions by hand: FastEditor pricing starts with a free consultation against your own order volumes.
Usually not. Resolution is only one of six conditions. A 300 DPI PNG can still fail on colour space, background, missing bleed, or simply being raster when the decoration method requires vector paths or a stitch file.
Print-ready usually refers to documents prepared for commercial printing, often against PDF/X. Production-ready is the broader promotional products version: the file meets the specification of the actual decoration method and supplier, whether that is offset, engraving or embroidery.
Raster files sent to vector-only methods. In the FastEditor benchmark, 61 percent of 13,773 uploads needed vectorization, and 79 percent needed upscaling. Colour space errors and baked-in backgrounds follow close behind.
For the large majority of logos, yes: the system generates a spec-compliant file rather than asking the customer to supply one. Genuinely unprocessable inputs, such as photographs submitted as logos, are flagged for human review instead of being sent to production.
More articles in Artwork Automation.
