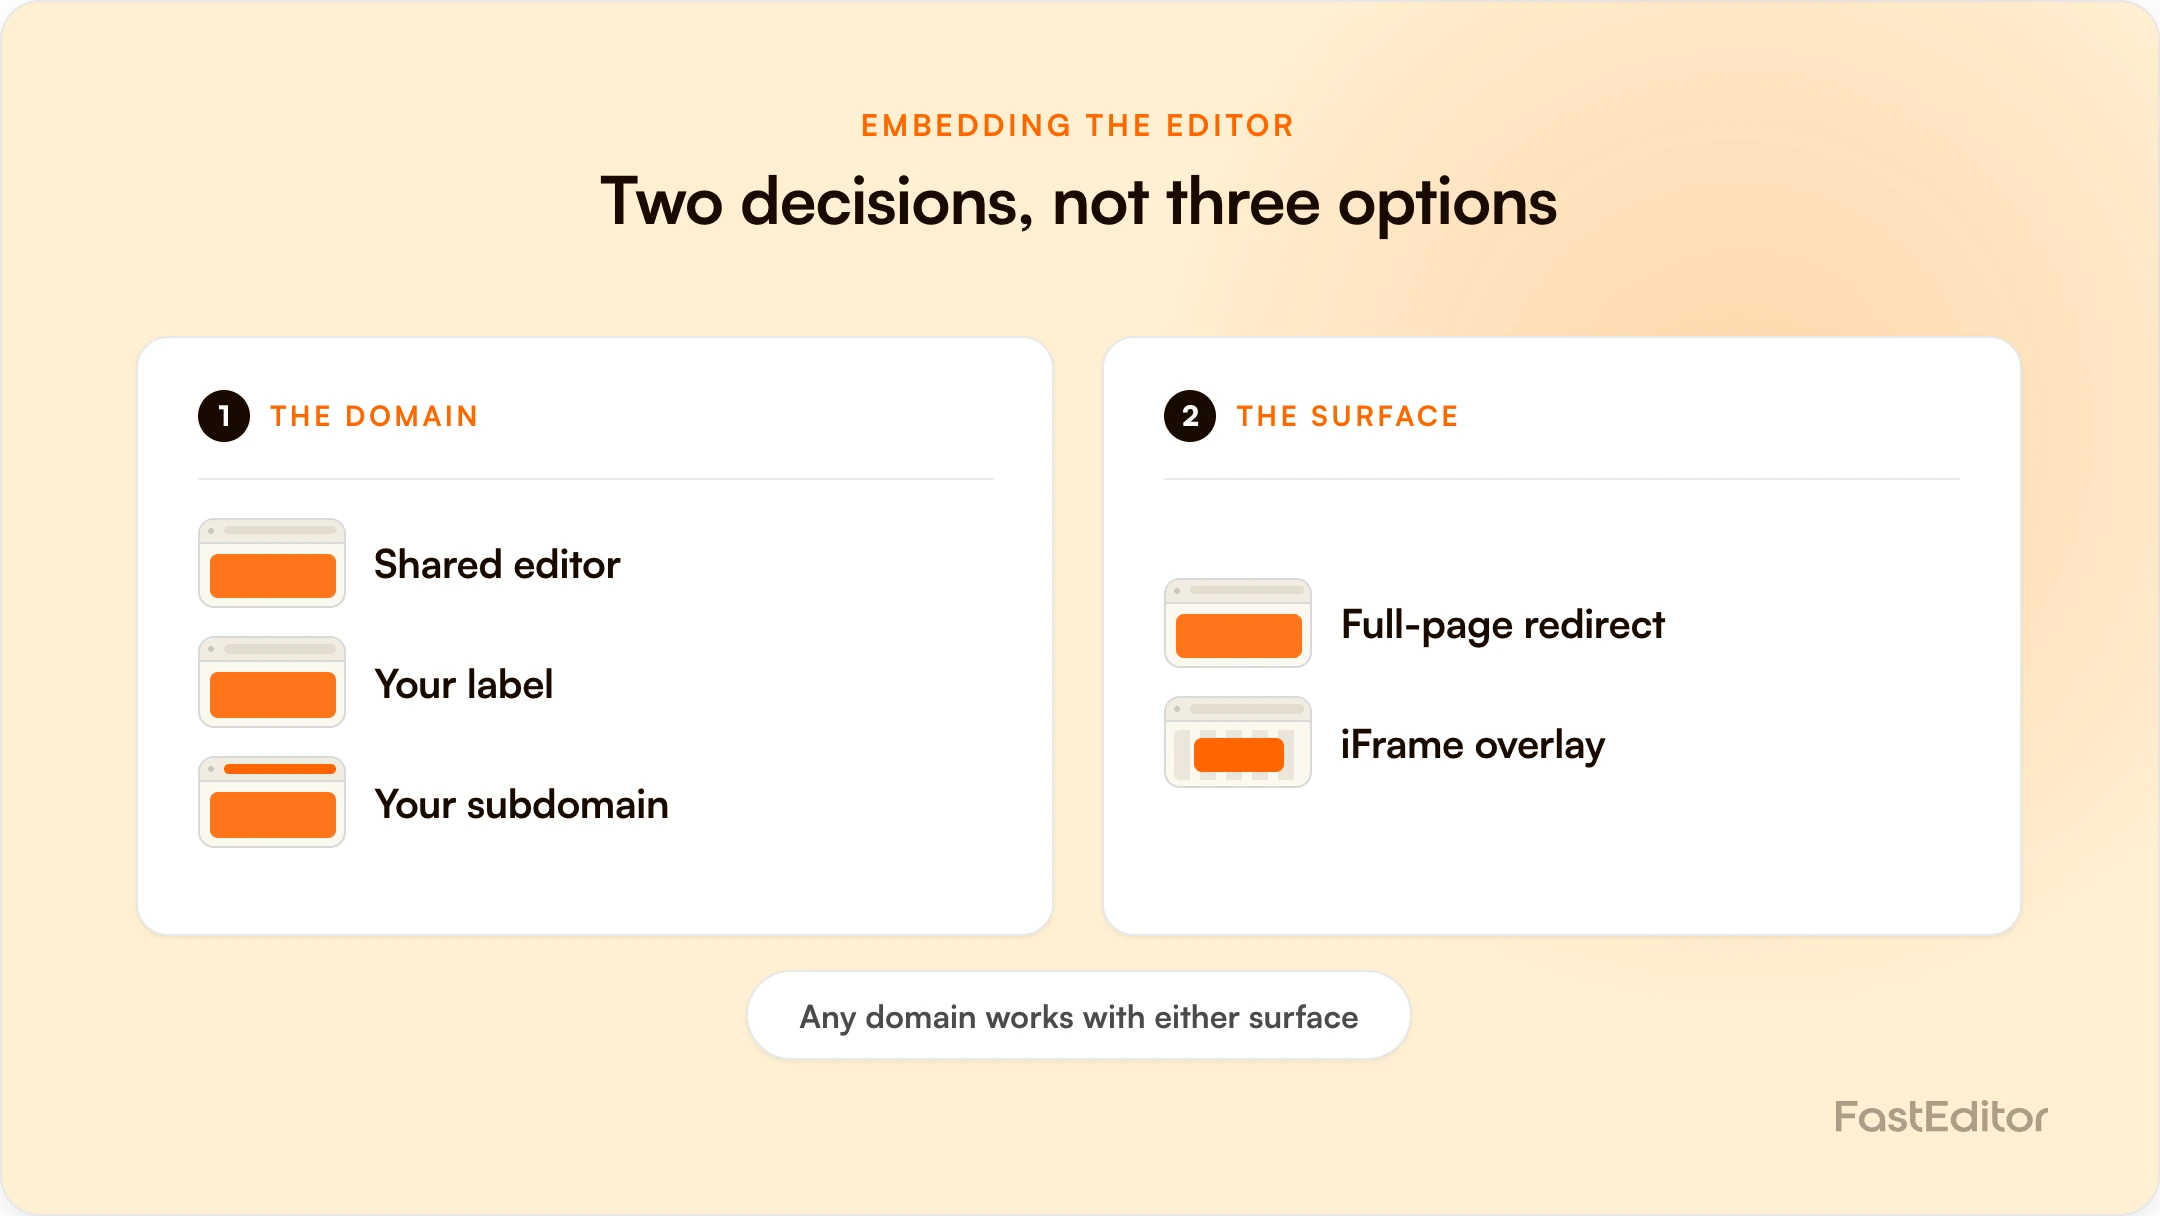
Where your product editor opens is two separate decisions. First the domain: the shared editor, your own label on a FastEditor subdomain, or your own subdomain via a CNAME. Second the surface: a full-page redirect or an iframe overlay. Any domain works with either surface, so pick them independently.
A customer on your product page clicks Customize. In the next moment one of a few things happens. The browser leaves your shop for an editor on a domain the customer has never seen. It leaves for an editor on a domain that carries your name. Or a modal opens on top of the page, and your header, breadcrumbs and cart stay exactly where they were.
Most teams treat this as a styling question and answer it late in the project. It is not a styling question. The choice determines how much code you write, what the back button does on a phone, whether a returning customer can pick up an unfinished design, and whether a strict content security policy can quietly break your checkout. FastEditor supports every combination described below, and they all use the same SmartLink URL and the same Add To Cart callback underneath.
This gets presented as a menu of three choices: redirect, branded domain, or iframe. That framing is wrong, and it leads teams to trade away things they did not need to trade away. There are two independent decisions.
Decision one is the domain. Which host serves the editor: the shared FastEditor editor, your own labelled instance on a FastEditor subdomain, or your own subdomain on your own domain.
Decision two is the surface. Whether the editor takes over the whole page as a real navigation, or loads inside an iframe in an overlay on top of your product page.
Every domain works with either surface. You can run a fully white-labelled editor on your own subdomain and still open it as a full-page redirect. You can iframe the shared editor. Deciding these separately is the difference between an integration that fits your business and one that inherited a default.
| Shared editor | Your label on fasteditor.com | Your own subdomain | |
|---|---|---|---|
| What the customer sees | A generic fasteditor.com URL | {{your_brand}}.fasteditor.com | subdomain.yourdomain.com |
| Setup | None beyond the API integration | White label onboarding. Provided out of the box | White label onboarding plus one CNAME record |
| Branding control | Standard interface | Colours, fonts, icons and UI text | Colours, fonts, icons and UI text |
| Environments | Production | Staging and production | Staging and production |
| Best when | You are validating the integration | You want a labelled editor without touching DNS | Brand trust and maximum brand value matter |
The third rung is the one FastEditor recommends, because it is the only option where the customer never sees a domain that is not yours. To use it you create a CNAME record in your DNS provider's panel. The CNAME host is your new subdomain, for example fasteditor.yourdomain.com, and the CNAME value is {{your_brand}}.fasteditor.com. That is the entire DNS change. FastEditor requests and manages the SSL certificate for your subdomain, issued through Amazon Web Services. If you need to supply your own certificate instead, that runs through your account manager. The infrastructure and domain guide has the full record format and environment detail.
Worth being precise about what a white label instance actually is, because it is more than a domain. It is your own instance, with control over custom domains, branding, pricing, shop integrator management, analytics and authentication integration. White Label API requests authenticate with an API key in the X-Api-Key header, and that header must never reach the browser. Initiate those requests from your backend.
A labelled instance comes with two environments rather than one. Staging is where you try product configurations and settings before customers ever see them, on {{your_brand}}.staging.fasteditor.com with its API at api.{{your_brand}}.staging.fasteditor.com. Once a configuration is approved on staging, it syncs to production.
This matters more than it sounds. Product configuration is where integrations actually go wrong, and the ability to get a print position or a decoration method wrong somewhere harmless is worth real money. The setup, maintenance and updating of all this infrastructure is included in the service and runs on Amazon Web Services.
Here is the honest boundary, and it is worth knowing before you promise a design team something that cannot be delivered. The UI structure and flow of the editor are fixed. They have been shaped over years of experiments and are optimized for conversion, so the wireframes are not open for rearrangement.
Inside those wireframes there is a lot of room. The interface is built on a colour system you can map to your own palette. You can supply your own fonts as WOFF2 files. The default Material Design icon set can be replaced with your own. UI text can be changed where your brand speaks differently to its customers, though that one is worth discussing rather than assuming, because the existing copy has been tested against alternatives and changes can cost conversion. Integration projects start with a session with FastEditor's head of design to get the colour setup right for your label, and the branding guide shows the full colour token set you will be mapping.
If your security review will ask, the answers exist. Each label and each environment is hosted in a completely isolated AWS account. Critical resources run inside a Virtual Private Cloud and cannot be reached from outside it. The infrastructure is monitored by AWS GuardDuty for suspicious behaviour, with a range of CloudWatch monitors on resource performance and utilization, documented escalation policies for incident management, least privilege access, and separation of duties inside the development team.
Whichever domain you land on, you now choose how the editor appears. Both approaches use the same SmartLink URL and the same Add To Cart callback. The only difference is where the editor is displayed.
| Full-page redirect | iFrame overlay | |
|---|---|---|
| Customer stays on your site | No. The customer is sent to a full-page editor | Yes. The editor opens in a modal on top of your page |
| Your branding, header and cart | Not visible while the customer is in the editor | Stay in view around the overlay throughout |
| Implementation effort | Lowest. Generate a SmartLink URL and redirect the browser to it | Higher. You also build the overlay, a bridge page on your domain, and postMessage handling |
| Browser and context limits | Works everywhere, including contexts that block iFrames | Requires iFrames to be allowed. Strict CSP, some embedded webviews or ad blockers may block them |
| Add To Cart return | FastEditor redirects the top window to your cart URL with fe_cart_url appended | Navigation happens inside the iFrame. You detect it with a bridge page and postMessage |
| Back button and swipe | Behave naturally. Back returns the customer to your shop | The overlay is not a history entry by default, so back navigates the page behind it unless you manage history yourself |
| Best when | You want the simplest possible integration | Keeping customers on your site with consistent branding matters most |
The redirect is genuinely the right answer for most partners, and it is worth resisting the pull toward something more elaborate. Your server calls the Create SmartLink endpoint with the selected SKU, gets back a personalized editor URL, and sends the browser to it. When the customer clicks Add to cart, FastEditor redirects the top window to your configured cart URL with an fe_cart_url query parameter appended. Your server fetches that URL, receives the finished project data, and adds the line item. The full sequence, through to the generated print files, is documented in the cart to print file lifecycle.
The overlay costs more, and the cost is not in the iframe tag. It is in everything around it: an overlay container, a bridge page hosted on your own domain, postMessage handling in the parent, history management for the back button, and exit paths that do not silently discard a design the customer spent ten minutes on. None of that is difficult. All of it is easy to forget. The iFrame overlay guide carries the complete working example, including a mock overlay you can click through to feel each failure mode before you build anything.
src of the iFrame in a modal on top of your page.fe_cart_url appended, exactly as in the redirect flow.fe_cart_url from its own query string and uses postMessage to tell the parent page. The parent closes the overlay.fe_cart_url, gets the finished project data, and adds the item to the cart. Identical to the standard Add To Cart flow.Two rules apply to step 2 and neither is optional. Generate the SmartLink URL server-side, so your API credentials are never exposed in the browser. And generate a fresh one for every session, because SmartLink URLs are single-use session URLs. Do not cache them and do not reuse them across customers.
<!-- Bridge page, served on YOUR domain, e.g. https://yourshop.com/fe-cart-bridge
     Configure this URL as your cart redirect target. -->
<script>
  const params = new URLSearchParams(window.location.search);
  const feCartUrl = params.get('fe_cart_url');

  window.parent.postMessage(
    { type: 'fasteditor:add-to-cart', feCartUrl },
    'https://yourshop.com'
  );
</script>This is the trap, and it catches teams who did the branding work first. Once the editor is served from fasteditor.yourdomain.com, it feels like part of your site. It looks like part of your site. It is not, as far as the browser's same-origin policy is concerned. A subdomain is a separate origin from the parent domain, so JavaScript on yourshop.com still cannot read the URL or contents of an iframe pointed at fasteditor.yourdomain.com.
The practical consequence: putting the editor on your own domain does not remove the need for a bridge page and postMessage. Reading iframe.contentWindow.location is blocked either way. Plan the overlay work on the assumption that the frame is cross-origin, because it is.
Clicks inside a cross-origin iFrame never reach your page. A backdrop click is only detectable when it lands on the overlay element itself, which means you need a visible gutter of padding around the frame for one to exist at all. If you stretch the iFrame full-bleed to give the editor every pixel, backdrop-click is dead and your close button plus Escape become the only exits. That is a legitimate choice. It just has to be a deliberate one.
The moment the customer clicks into the editor, key presses go to the iFrame and your parent-page keydown listener stops seeing them. Treat Escape as a convenience, never as the primary exit. Always keep a visible close button.
This is the one that costs real orders, and it is worst on mobile. An overlay is not a browser history entry, so pressing back or using an edge-swipe navigates the page behind it, or leaves your site entirely, silently abandoning a design in progress. The fix is standard: call history.pushState() when you open the overlay, listen for popstate, and route back-navigation through the same close handler as every other exit.
Route every exit path, the close button, the backdrop, Escape and back-navigation, through a single handler so you can warn consistently before discarding work. Only warn when there is actually unsaved work, so a customer who opened the editor by mistake can leave instantly.
function requestClose() {
  if (overlay.hidden) return;
  if (hasUnsavedWork && !confirm('Discard your design and close the editor?')) {
    return; // Customer chose to keep editing.
  }
  closeEditor();
  hasUnsavedWork = false;
}

closeBtn.addEventListener('click', requestClose);

// Backdrop click. Only fires when the click lands on the overlay itself.
overlay.addEventListener('click', (event) => {
  if (event.target === overlay) requestClose();
});

// Escape. Works only while focus is still on your page.
document.addEventListener('keydown', (event) => {
  if (event.key === 'Escape') requestClose();
});
When a customer closes the overlay without adding to cart, the SmartLink session is simply abandoned. FastEditor never navigates to your cart URL, so no fe_cart_url is sent and no project comes back to you. Reset the iFrame to about:blank on close to tear the session down cleanly, and generate a fresh SmartLink the next time they open the editor.
Two configuration notes belong here as well. Do not apply a restrictive sandbox attribute to the iFrame, because the editor needs scripting, forms, pop-ups and same-origin behaviour to function. If your security policy forces one, include allow-scripts allow-forms allow-same-origin allow-popups allow-modals. Use the allow attribute for permissions the editor needs, such as clipboard-write and fullscreen. And on mobile, render the overlay as close to full-screen as you can and lock body scrolling behind it, so the editor gets the full viewport.
An overlay integration accepts a message from a frame and then makes a server-side request to a URL that message contained. Both halves need validating.
First, confirm event.origin matches your own domain before trusting any incoming postMessage event. Second, validate that the received fe_cart_url uses HTTPS and that its host is exactly fasteditor.com or a *.fasteditor.com subdomain, using an exact or dot-boundary check rather than a plain suffix match. A naive endsWith check would happily accept a look-alike domain such as evilfasteditor.com. Retrieving the cart contents from fe_cart_url should always happen server-side.
There is a third thing riding on how you open the editor, and it is invisible until a customer tries to come back.
FastEditor links your own customer id to its internal user id, which means no other customer profile information needs to be stored on FastEditor's side. It stays in your systems. When you send a customer into the editor with a SmartLink that includes a userId, you get a user session: login status and localization settings are preserved, and the editor session is tied to that account, so the customer can return later and finish the project.
Send traffic without SmartLink, or omit the userId from the payload, and you get a guest session instead. The design still works, but there is nothing to come back to. For a considered B2B order that a buyer wants to run past a colleague before approving, that is not a small detail. Converting a guest session into a user session mid-flow is supported, but it requires an integration between the FastEditor backend and your own authorization API, covering login, signup and forgot password. When that integration is live, a guest who hits login or save project gets a dialog in your branding, their details go to your authorization API, and a successful login or signup converts the session.
The practical rule: pass a userId whenever you know who the customer is. It costs one field and it is the difference between a design that survives the customer closing the tab and one that does not.
Start on the shared editor with a full-page redirect. It is the fastest route to a working integration, and a working integration teaches you more about your customers than a plan does. Pass a userId from day one.
Move to a labelled instance when the editor stops being an experiment and starts being part of your product. Take the custom subdomain at the same time, because the CNAME is a single record and it is the only version where the customer never leaves your brand. Budget the design session, and set expectations internally that the wireframes are fixed.
Reach for the iframe overlay last, and only when keeping the customer on your page is a measurable commercial priority rather than an aesthetic preference. It is the one decision here that adds ongoing front-end code you have to maintain, and the one where the failure modes are silent.
One thing does not change across any combination. The product still has to be correctly configured before any of this matters, with the right print positions, decoration methods and SKU mapping in the Product Hub. Where the editor opens is a presentation decision. What it can produce is a data decision, and that one is settled long before the customer clicks Customize.
No. A subdomain is a separate origin from your main domain as far as the browser is concerned, so JavaScript on your shop still cannot read the iframe's URL or contents. You need the bridge page and postMessage regardless of which domain serves the editor.
Yes. Both approaches use the same SmartLink URL and the same Add To Cart callback, so the server-side half of your integration does not change. Moving to an overlay means adding a bridge page on your domain and postMessage handling in the parent, not rewriting what you already built.
Colours, fonts supplied as WOFF2 files, the icon set, and UI text. The wireframes themselves are fixed, because the structure and flow have been optimized for conversion through years of experiments. Text changes are supported but worth discussing first, since the existing copy has been tested against alternatives.
The overlay will not load. Strict content security policies, some embedded webviews and certain ad blockers can all prevent it. If a meaningful share of your traffic arrives through in-app browsers, the redirect flow is the safer choice because it works in every context.
No. SmartLink URLs are single-use session URLs. Generate a fresh one, server-side, every time the editor opens. Reusing an old src after the customer closed and reopened the overlay is a common source of confusing session behaviour.
More articles in Developers & API. Implementation detail lives in the FastEditor developer documentation.
fasteditor.yourdomain.com pointing to {{your_brand}}.fasteditor.com, with the SSL certificate requested and managed by FastEditor.userId in the SmartLink payload whenever you know the customer. Without it you get a guest session, and an unfinished design has nothing to return to.