An API-first web-to-print editor lets you add live personalisation and print-ready file output to your existing platform without rebuilding it. You integrate by embedded editor, headless REST API, or native connector. Most of the effort is data: product feed, print areas, decoration methods, and SKU mapping, not the API calls themselves.
FastEditor platform data (Mar–May 2026): across the API, 61% of uploads needed vectorization and reached a production-ready file in a median 53 seconds, with 7,918 files generated across the window — the output an API integration delivers at scale. See the Artwork Automation Benchmark 2026.
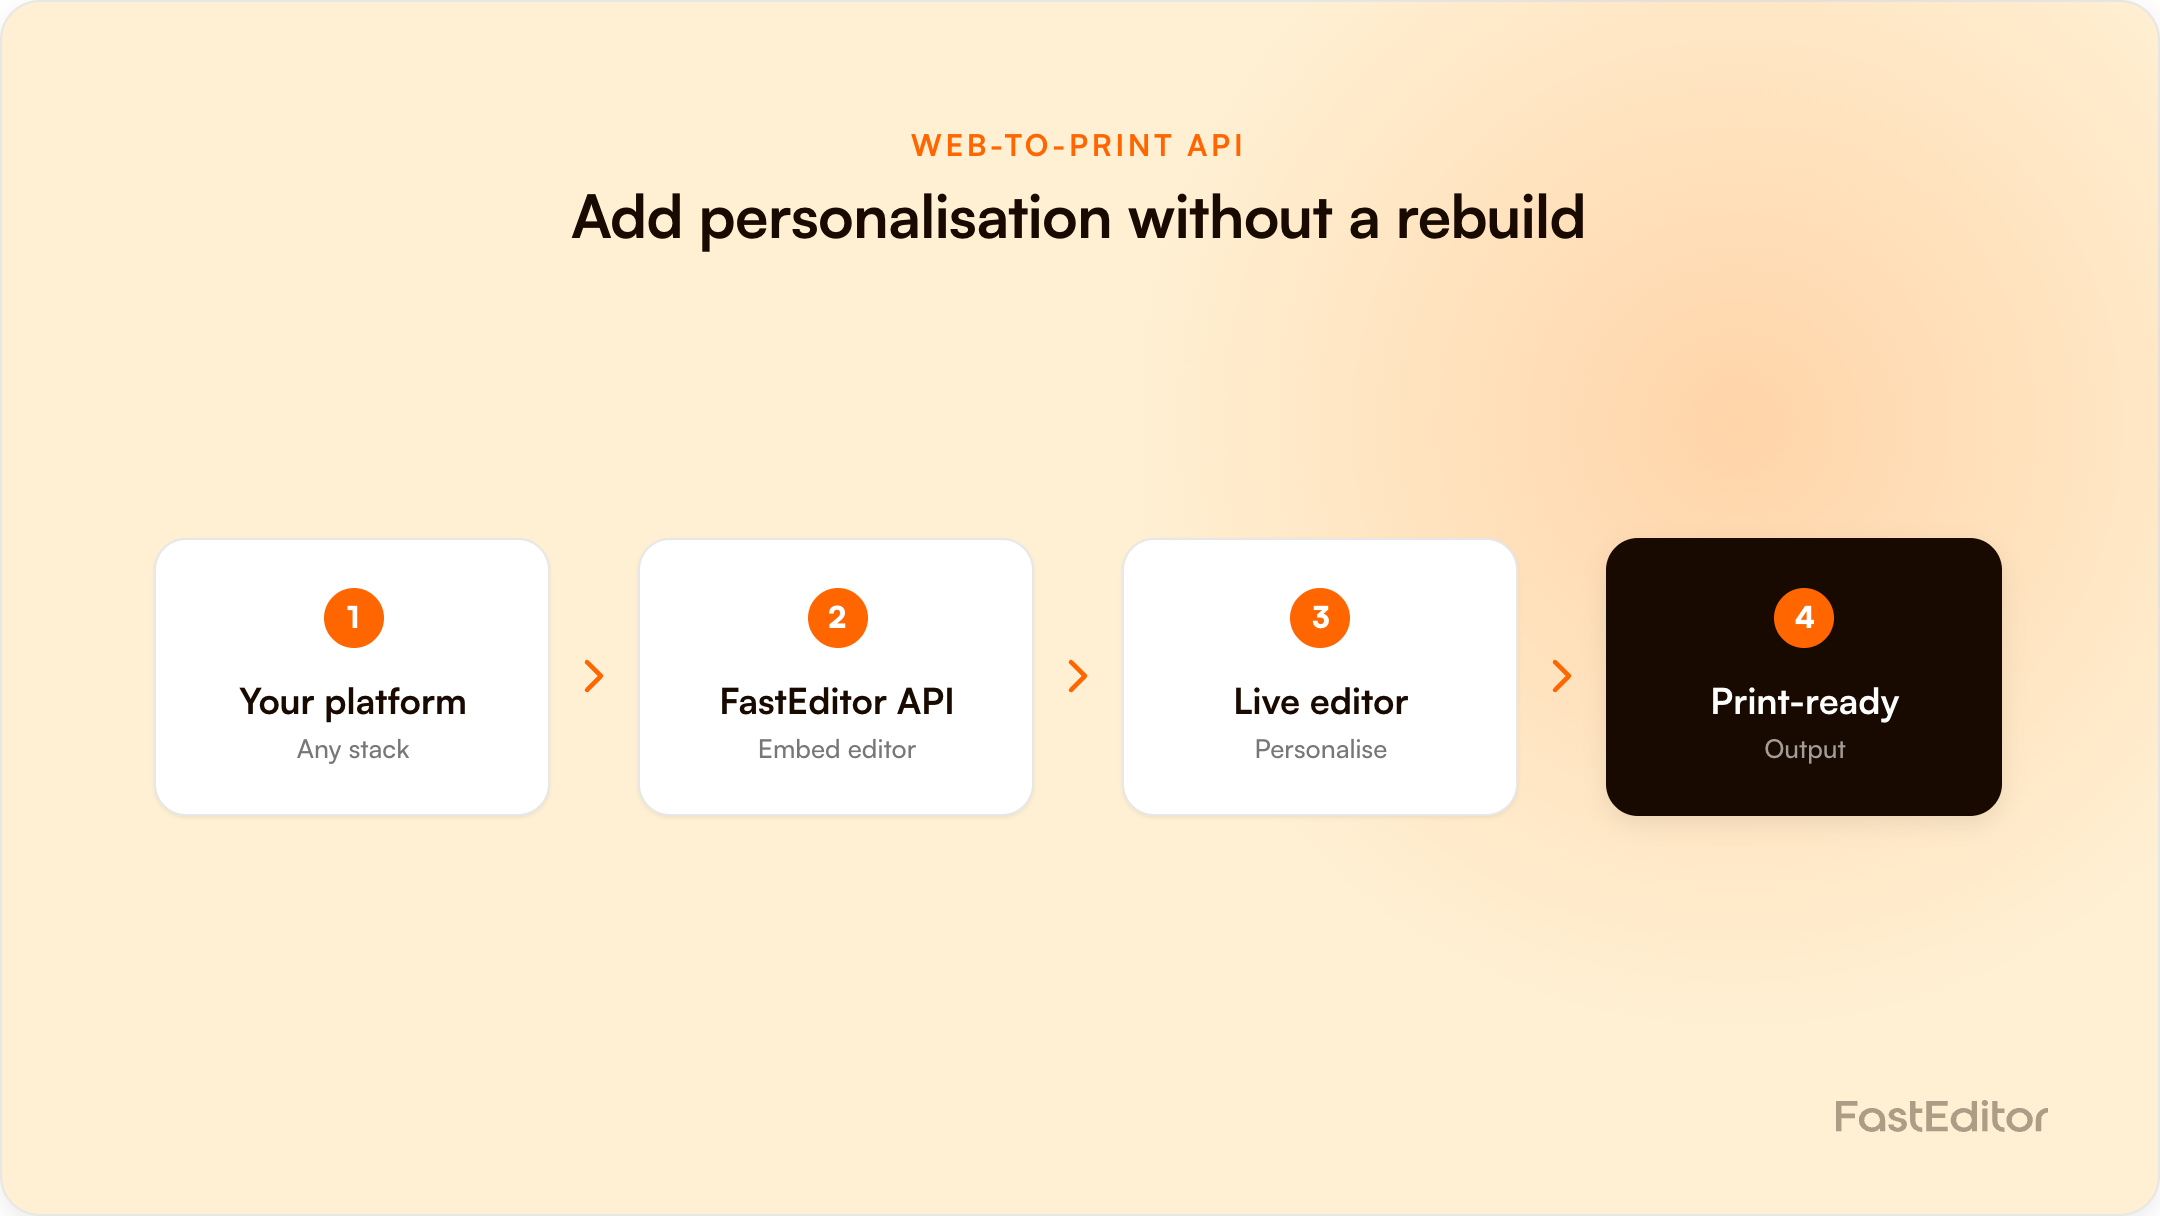
Your developer already has a webshop that works. The real question is not whether to rebuild it, but how to add live product personalisation and print-ready output without touching the rest of the stack. That is exactly what an API-first artwork editor is built for.
This guide explains how a web-to-print editor connects to your platform over an API: the integration models available, what the API actually does, the data you need to connect, and where these projects usually go wrong. It is written for the people who get asked can we just plug this in, namely platform owners, IT leads, and developers at resellers and suppliers.
An API-first artwork editor exposes every step of the artwork process as a service your systems can call: uploading a logo, vectorizing it, mapping it onto a product, generating a production-ready file, and returning a proof. Your shop stays the system of record. The editor does the artwork work and hands back files and data through endpoints, not through a separate portal your team has to log into.
The opposite of API-first is a closed tool that owns the customer journey. With an API-first approach you keep your checkout, your pricing, and your design, and you add only the capability you are missing.
You load the editor in your product page through a script or iframe, pass it a product and a configuration, and listen for an event when the customer finishes. This is the quickest route to live, often a matter of days, and it suits most e-commerce resellers.
Your front end stays entirely your own and you call the API directly: create a design session, push artwork, request a proof, pull the print file. This is the route IT teams choose when the editor has to sit inside an existing configurator or a custom checkout. It is more work, and it gives you full control of the experience.
For Shopify, WooCommerce, Magento, and similar platforms, a native connector removes most of the custom work. If you are weighing this against writing your own tool, the build vs buy comparison puts real numbers on it.
A capable artwork API covers the whole flow rather than a single trick:
This end-to-end coverage is the point. An editor that stops at a pretty preview leaves your team to produce the actual file by hand, which is the cost you were trying to remove. See the full artwork automation flow for how the stages connect.
Most integration effort is data, not code. Before any endpoint is called, three things have to line up:
If your product data lives with a distributor or aggregator, getting this layer clean is the real project. We cover it in detail in the supplier artwork workflow and in choosing product catalogue software.
Three issues account for most of the pain.
SKU and product mismatch. If your catalogue and the editor catalogue identify products differently, artwork ends up on the wrong variant. Agree the matching key first and test it before launch.
Missing print data. An editor can only place artwork correctly if it knows the print area size and the decoration method per product. Gaps here are the most common reason a file comes out wrong, and they usually trace back to the source product data, not the editor.
Output format assumptions. Different decoration methods need different files. Screen print and embroidery need true vector or stitch data. A flat PDF is fine for some transfer work but not for others. Confirm what each of your production partners accepts before you go live, so the API returns the right format from day one.
Writing your own editor is possible. Maintaining vectorization quality, print-area logic, proofing, and multi-format output across every decoration method is a long-term commitment that competes with your core roadmap. The build vs buy analysis and the web-to-print buyer guide lay out the trade-offs.
An embedded editor can be live in days. A headless integration into a custom configurator usually takes a few weeks, with most of the time spent on product data and SKU mapping rather than on the API itself.
No. An API-first editor adds personalisation and print-ready output to the shop you already have. Your checkout, pricing, and design stay in place.
A production-grade API returns the formats your decorators accept, typically PDF, SVG, EPS, and AI for print, plus stitch formats for embroidery. Confirm your partners requirements and match them at setup.
Through a product feed and a SKU map, refreshed on a schedule or by webhook. Keeping this layer clean is the single biggest factor in a reliable integration.