TL;DR
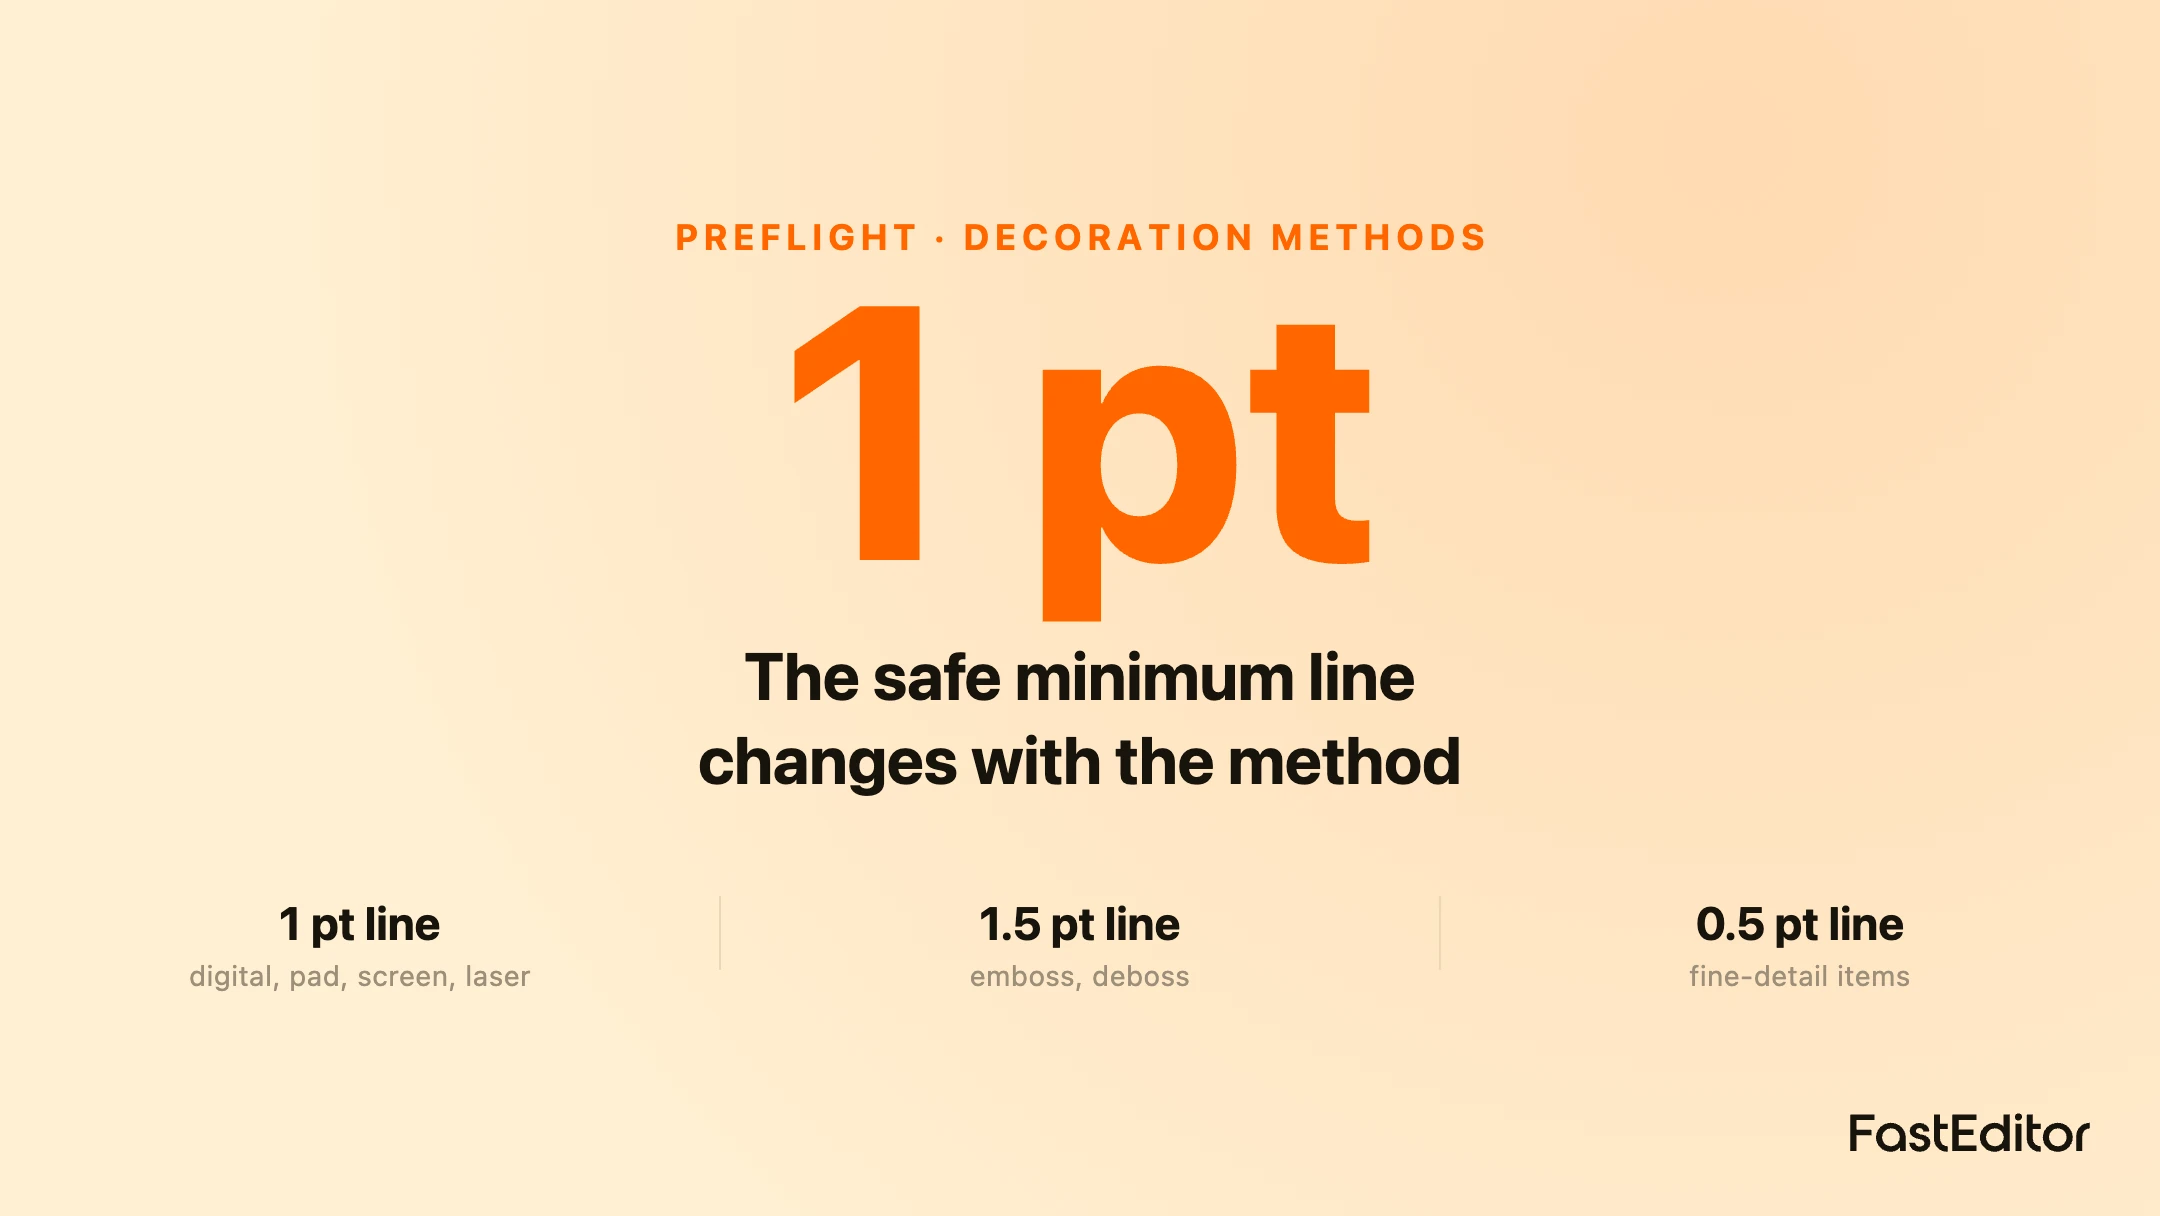
The safe minimum line thickness and text size for promotional decoration depends on the method. Full-colour digital, pad, screen and laser hold about 1 pt lines and 12 pt text, embossing and debossing need around 1.5 pt, fine-detail items can go to 0.5 pt and 6 pt, and embroidery is limited by stitch resolution. Validate against the method automatically in preflight.
Thin lines are one of the most common reasons artwork gets flagged. The catch is that there is no single minimum. A line that prints cleanly in full-colour digital can disappear under an engraver or fill in when it is embossed. The safe minimum depends on the decoration method, which is why a single rule never fits every product.
Every promo decorator has reprinted a job because a hairline rule vanished or a tiny logo filled in. The fix is not a single number, it is a set of minimums that change with the decoration method. This reference pulls the typical thresholds together in one place so you can validate artwork against the right limit for the right technique. FastEditor applies checks like these automatically during line-thickness validation, but it helps to understand what the numbers are and why they move. For the underlying rules and why they stop reprints, see our companion guide on minimum line thickness and font size for print.
Why minimums differ by method
Each decoration method reproduces detail differently. Full-colour digital and pad printing can hold relatively fine lines. Screen and spot printing need enough width to lay down ink cleanly. Laser engraving burns a path and can lose very fine strokes or close up tight gaps. Embossing and debossing push the material, so thin lines and small text flatten out and need more width to stay legible. Embroidery renders in stitches, which sets a far coarser floor on detail than any printing method. The same logo can be perfectly printable one way and unreadable another, so the minimum has to follow the method.
Minimum sizes by decoration method
These are representative minimums that promo decorators commonly validate against for corporate-gift decoration. Exact limits vary by product, material, and supplier, so treat these as a sensible floor and confirm against your supplier's own artwork requirements.
| Decoration method | Minimum line thickness | Minimum text size | Note |
|---|
| Full colour, digital or pad | 1 pt (about 0.35 mm) | 12 pt | Holds the finest detail of the common methods |
| PMS or spot, pad or screen | 1 pt | 12 pt | Needs clean ink lay-down per spot colour |
| Laser engraving | 1 pt | 12 pt | Very fine strokes and tight gaps can be lost |
| Stamping, embossing or debossing | 1.5 pt | 12 pt and up | Material deforms, so thin detail flattens |
| Fine-detail items (pens, lighters) | 0.5 pt | 6 pt | Small print areas allow finer limits on suitable methods |
| Embroidery | Set by stitch resolution, higher than print | Larger than print | Detail is limited by stitch density, not line width |
How to read the table
Read it as a floor, not a target. A line at exactly the minimum will usually print, but a line comfortably above it is safer, especially on textured materials or small areas. Where a cell gives a range or says higher, the method cannot promise a fixed number because it depends on the product and substrate. Embroidery is the clearest example: its limit comes from how fine a stitch the machine can lay and how the fabric behaves, not from a line width in the file, so small text and thin outlines that print fine will not stitch cleanly. When in doubt, step up a size. For how colour count interacts with method, see how many colours you can actually print.
Fine-detail products are stricter and looser at once
Small items like pens and lighters look like they should be the hardest, and in some ways they are: the print area is tiny, so a normal logo has to shrink. But on suitable methods the achievable minimums can actually be finer, down to around half a point and 6 pt text, because the decoration is engineered for small surfaces. The lesson is not that small products are easier, it is that minimums are set by method and product together. Never assume the limit from the product size alone, and never assume a logo that worked on a bag will work on a pen.
Automate the check, do not rely on eyes
Checking line widths and text sizes by eye, per method, across every order does not scale and is exactly where reprints come from. The reliable approach is to validate each design automatically against the minimum for the chosen decoration method, and either warn or block when it falls short. That is what preflight is for, and whether a given check should block the order or just warn the buyer is its own decision, covered in block the order or just warn. Automated artwork checks catch the thin line before it reaches production, not after. For the full method-by-method picture of how each technique is automated, see decoration techniques explained.
Frequently asked questions
What is the minimum line thickness for printing?
For most full-colour digital, pad, screen and laser decoration, about 1 pt (roughly 0.35 mm) is a safe floor. Embossing and debossing usually need more, around 1.5 pt, because the material deforms. The exact minimum depends on the method, product and supplier.
Why does the minimum change by decoration method?
Each method reproduces detail differently. Printing lays ink, engraving burns a path, embossing deforms material, and embroidery renders in stitches. A line that prints cleanly can vanish under an engraver or flatten when embossed, so the safe minimum has to follow the method.
What is the minimum text size for promotional printing?
Around 12 pt is a common floor for most methods, dropping to about 6 pt only on fine-detail items and suitable methods. Embroidery needs larger text than print because detail is limited by stitch resolution.
Why is embroidery more limited than printing?
Embroidery renders artwork as stitches, so the smallest detail it can hold is set by stitch density and how the fabric behaves, not by the line width in the file. Thin outlines and small text that print fine will not stitch cleanly, so embroidery minimums are higher.
How should I enforce these minimums?
Automatically. Validate each design against the minimum for its chosen decoration method during preflight, and either warn the buyer or block the order when it falls short. Checking by eye across every order does not scale and is where reprints come from.
More articles in Artwork Automation.
Key takeaways
- There is no single minimum line or text size; the safe floor depends on the decoration method.
- Full-colour digital, pad, screen and laser hold about 1 pt lines and 12 pt text; embossing and debossing need more.
- Fine-detail items like pens can go finer, around 0.5 pt and 6 pt, because the decoration is built for small areas.
- Embroidery is limited by stitch resolution, so its minimums are higher than any printing method.
- Treat the table as a floor and step up a size on textured materials or small surfaces.
- Enforce minimums automatically in preflight rather than checking by eye, which is where reprints come from.